Only for Team Leads.
This is the most important step for loading your project to VallenIQ, because it determines how the data in your customer's RFQ is recognized.
When you upload a project, VallenIQ helps you make sure you're importing all the correct data from your customer. This includes mapping columns appropriately.
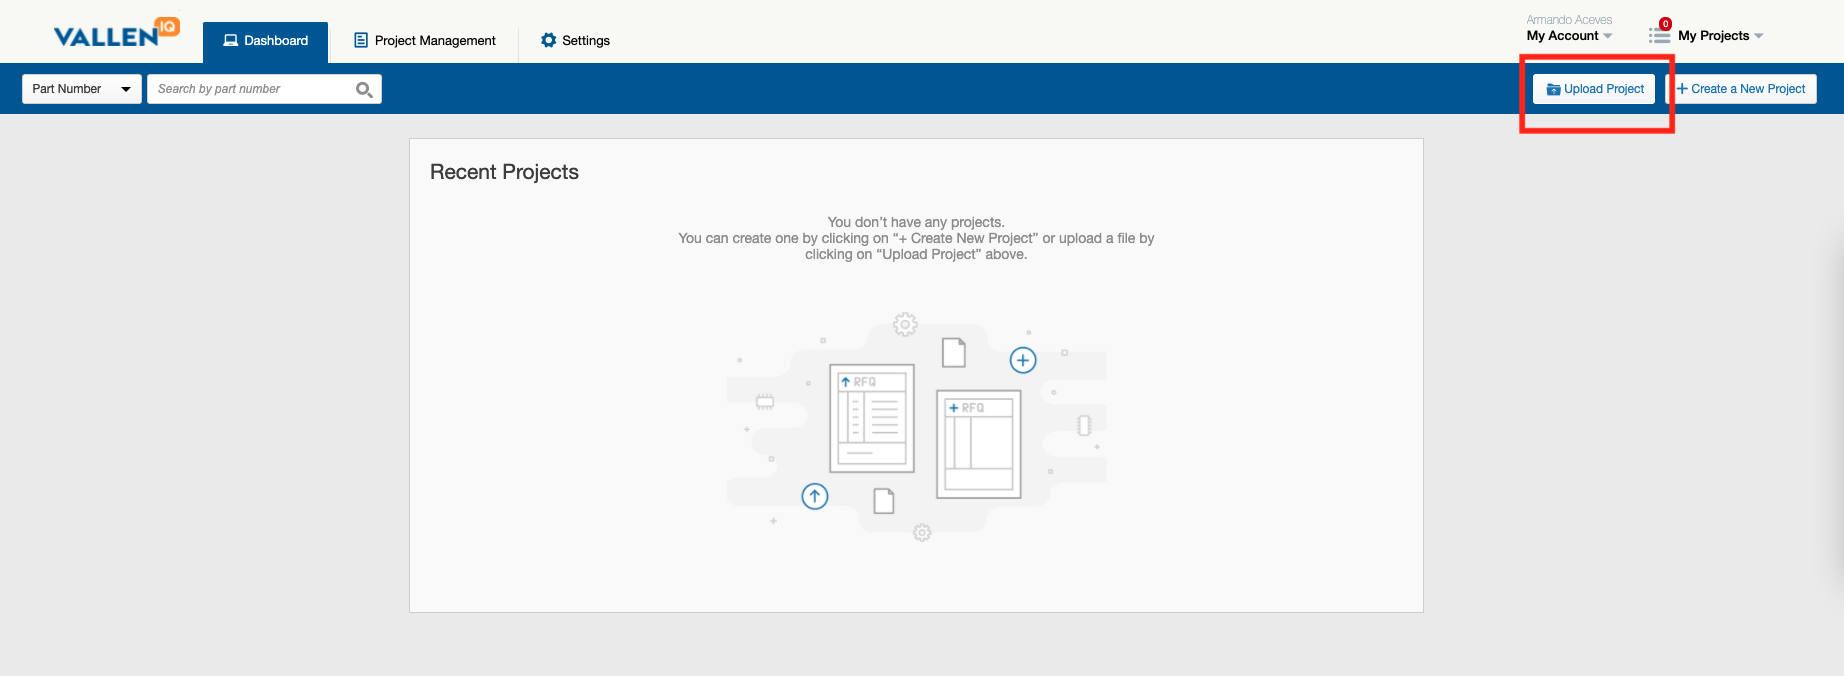
You'll have the opportunity to do this after you choose a file to upload from your computer from the Dashboard page.
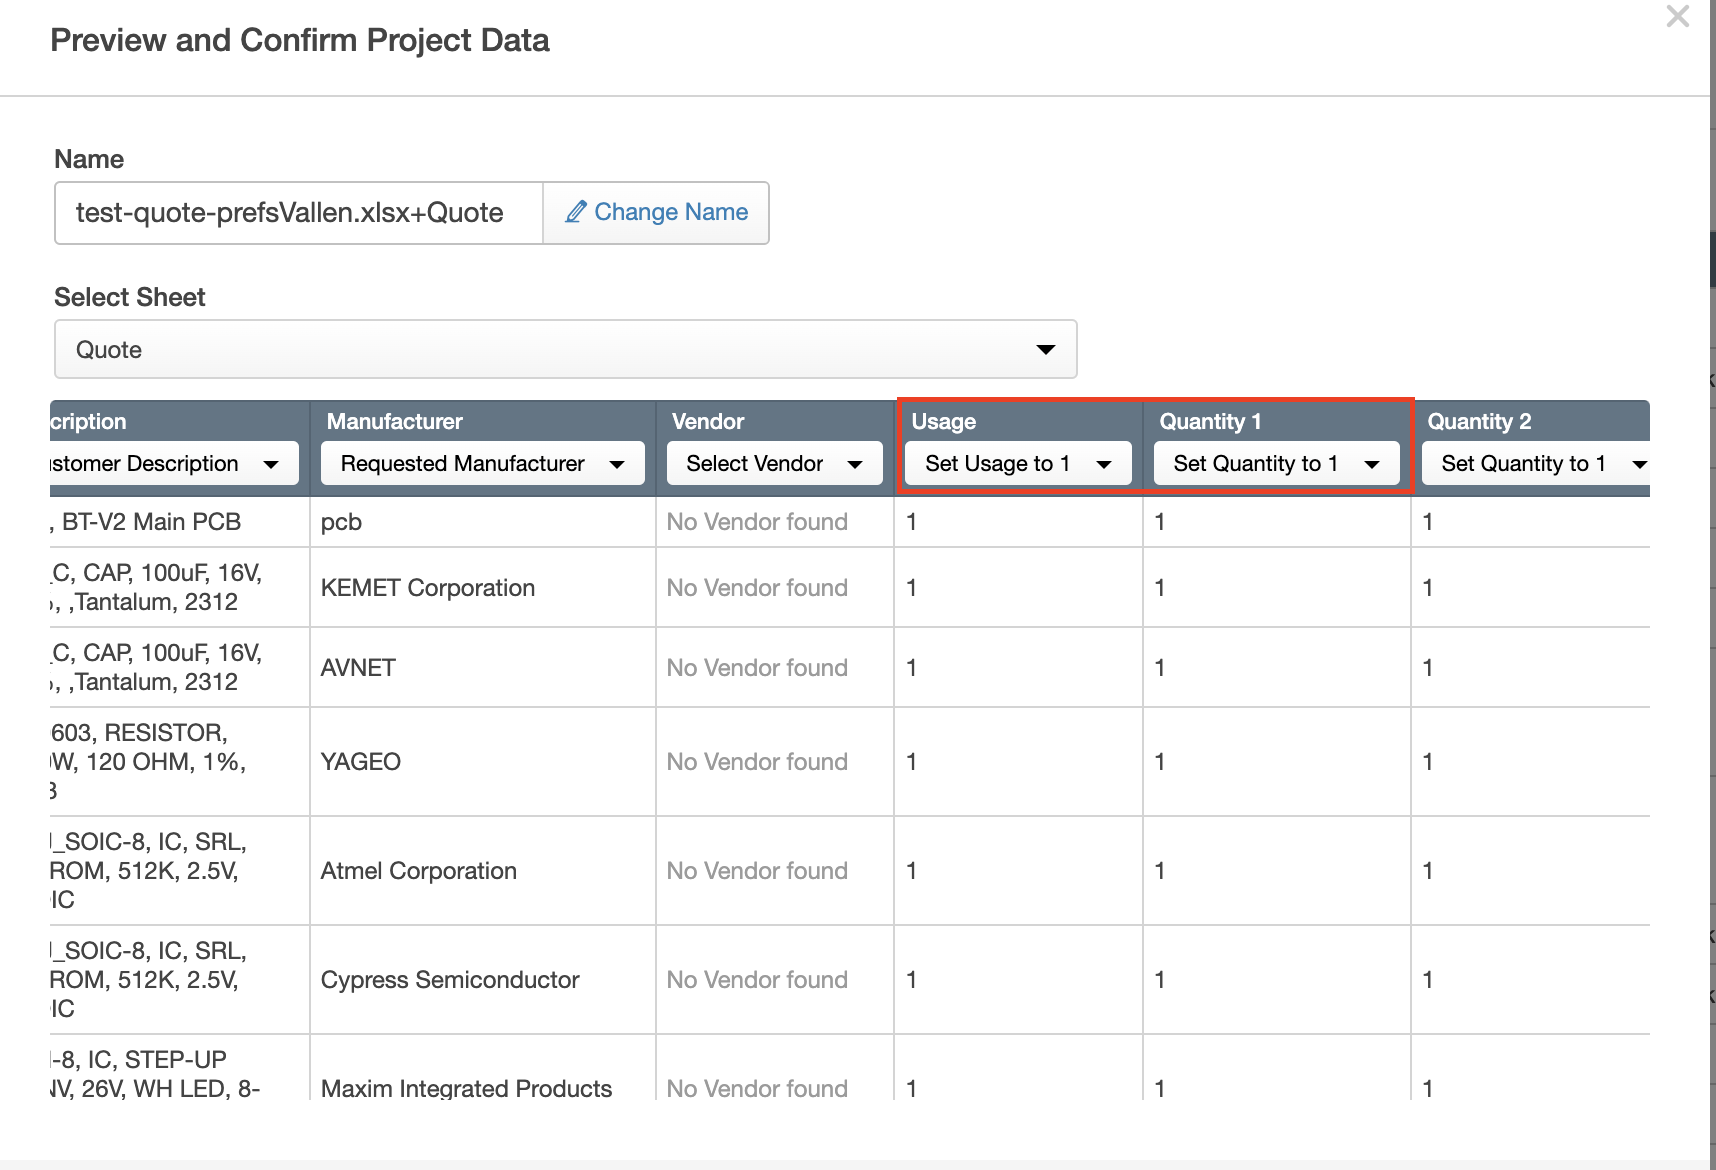
VallenIQ will quickly process your file, then take you to the Preview and Confirm Project Data window.

You can rename your quote by clicking on Change Name and typing a new name. Choose the appropriate sheet from your file (if your file has multiple sheets) from the Select Sheet dropdown menu.
Make sure to map each column according to the appropriate header. You will need to indicate the Customer Line Number, Customer Part Number, Requested Part Number (RPN), Description, Manufacturer, Vendor, Usage, Customer Last Price, Misc., Unit of Measure (UOM) Assignee , Quantity (up to four Quantity columns), and Miscellaneous (up to four Misc. columns) by picking from the charcoal dropdown menus and matching the columns to their headers appropriately.
Information in the Miscellaneous columns will be visible within the Expand view.
Columns that are not mapped will read "Ignore"
Note: You have the ability to set Quantity and Usage column by selecting "Set Quantity to 1" and "Set Usage to 1"
When you have finished confirming your project data, then click on Next. That will take you to the Customer Information step.